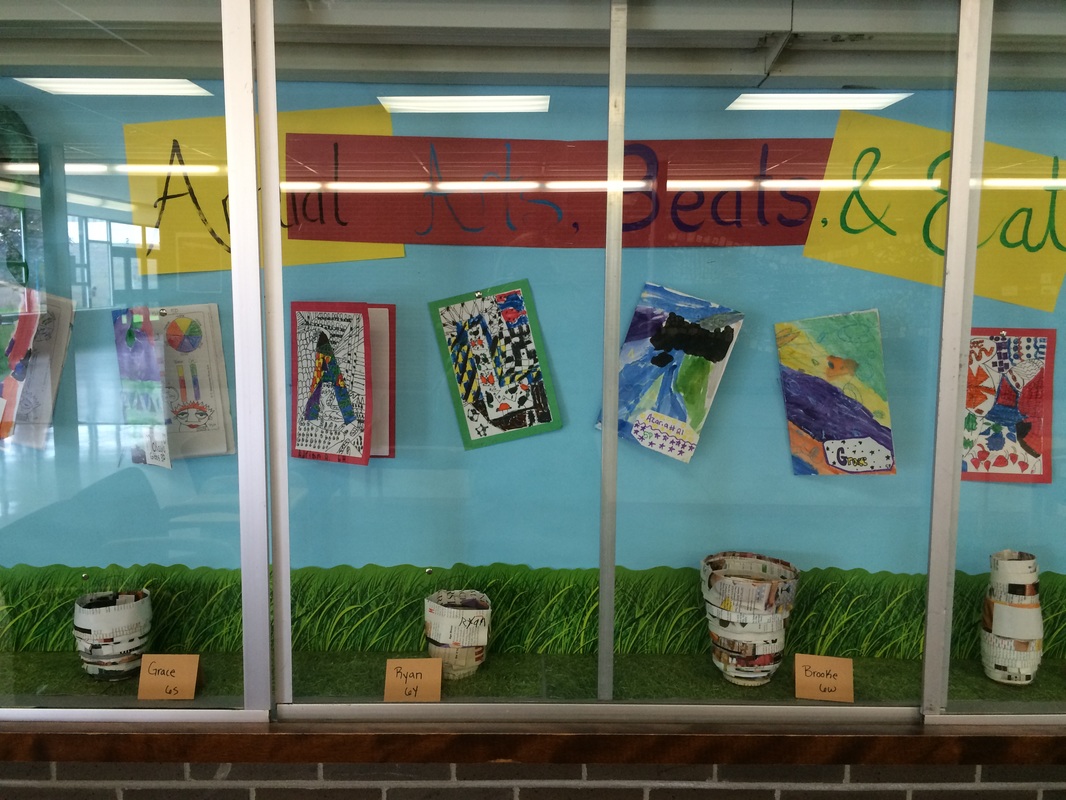
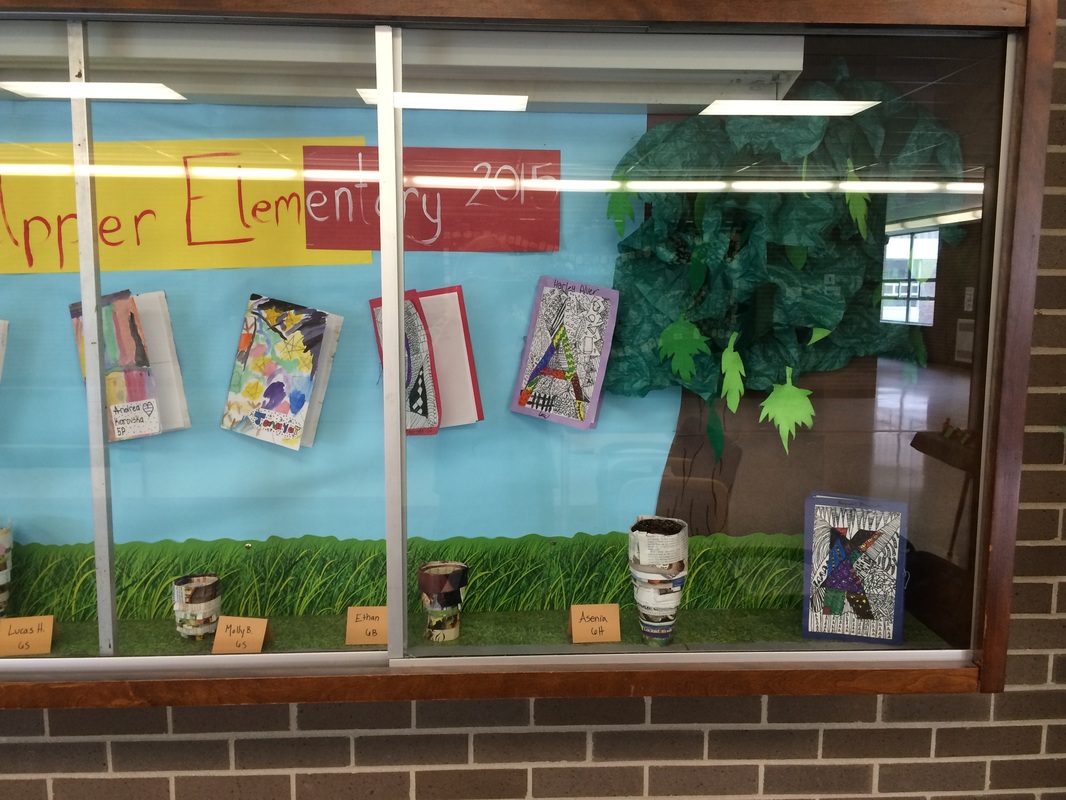
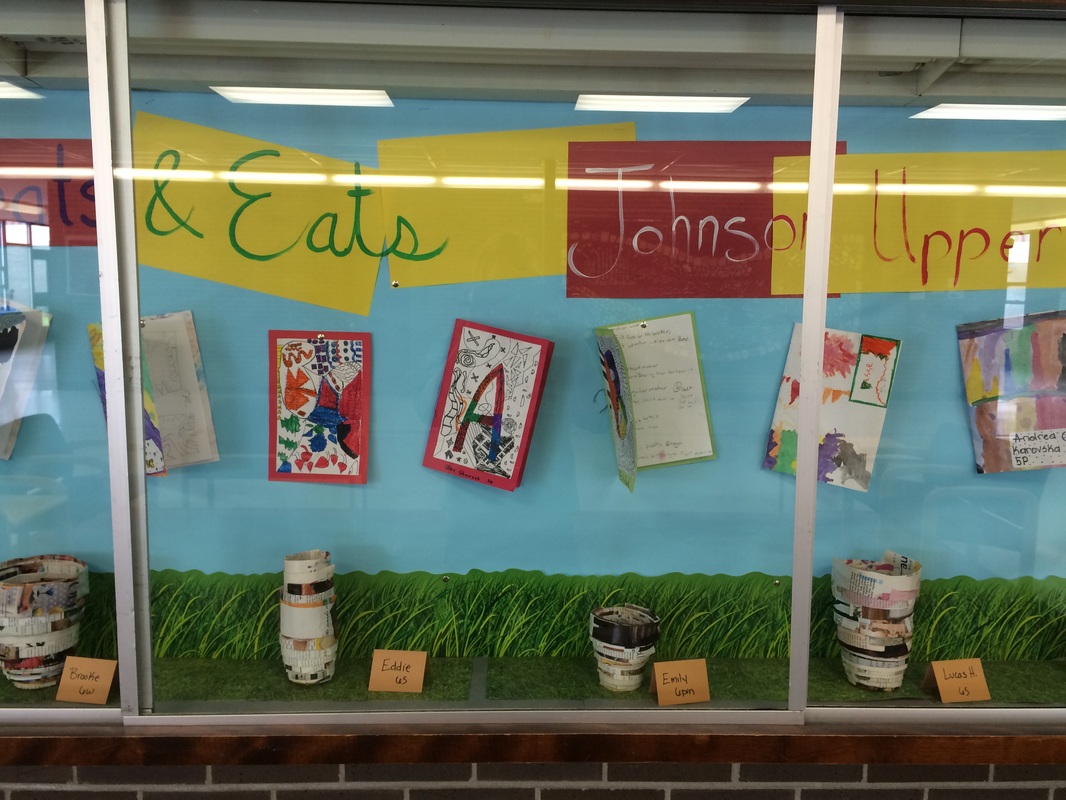
Pictures from our 2014-2015 Johnson Art Show. Thank you to my parent volunteers, family, friends and students who helped set up this wonderful art show! There was a choir concert during the show as well as our annual Ice Cream Social. I hope everyone had a chance to come out to see all the art and appreciate their child's many creative talents!
|
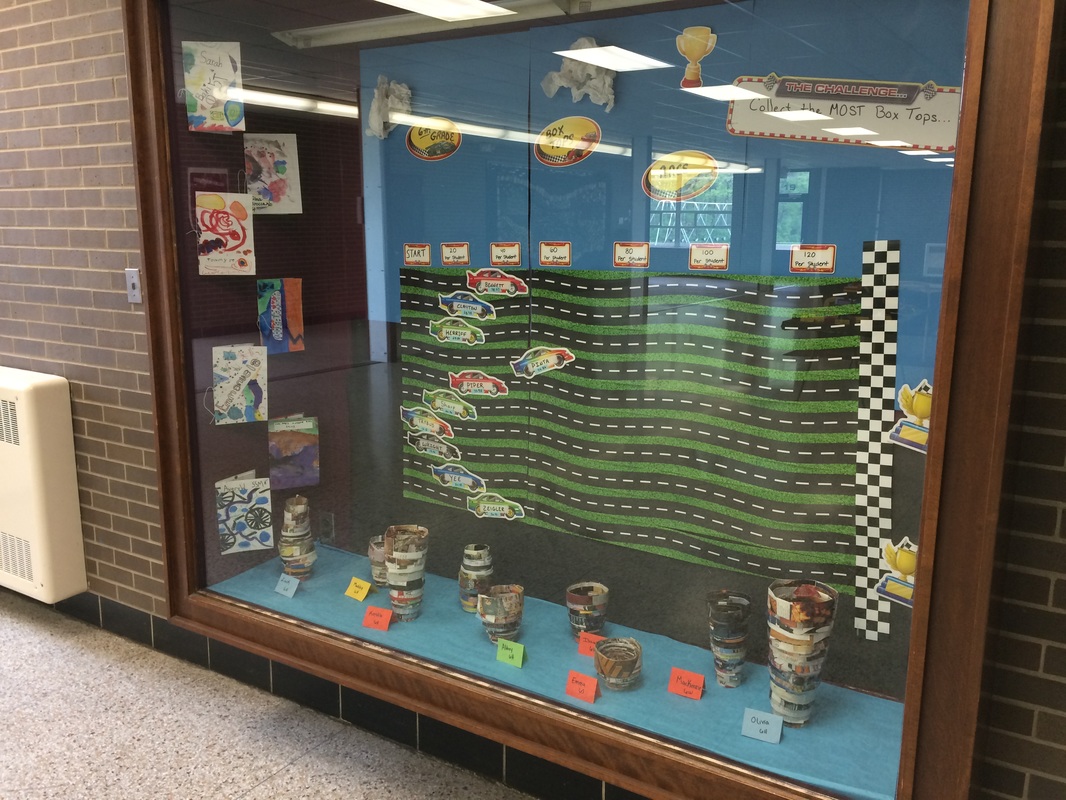
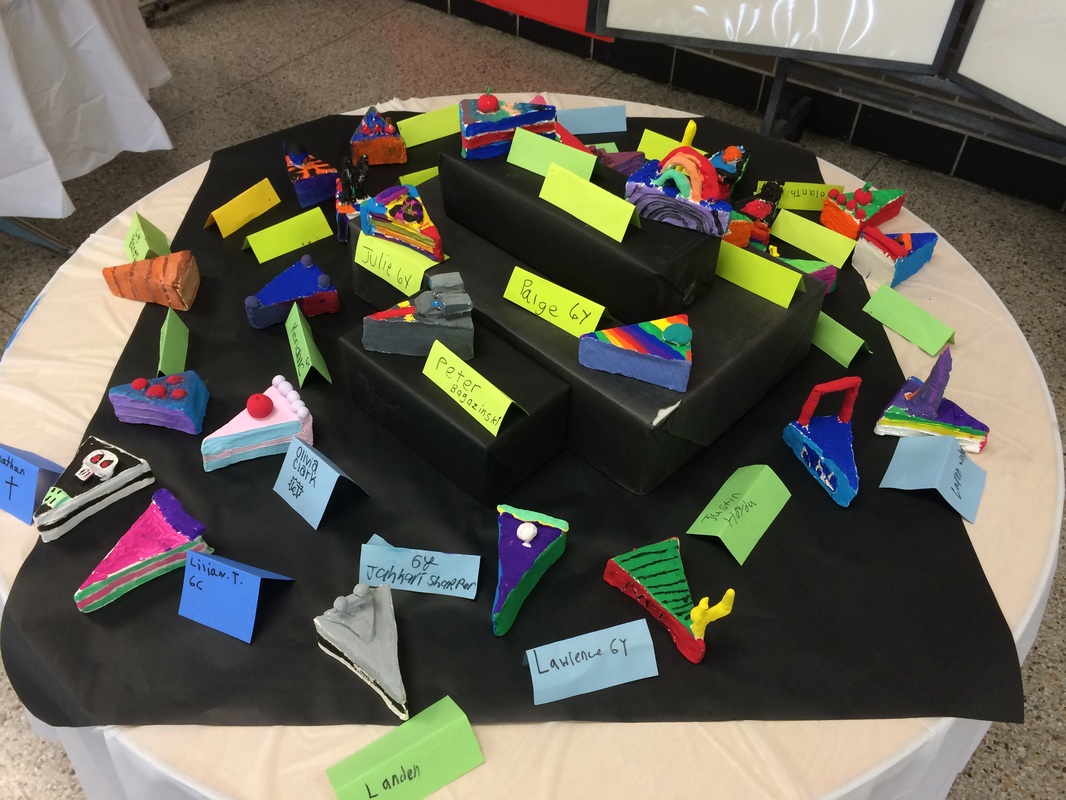
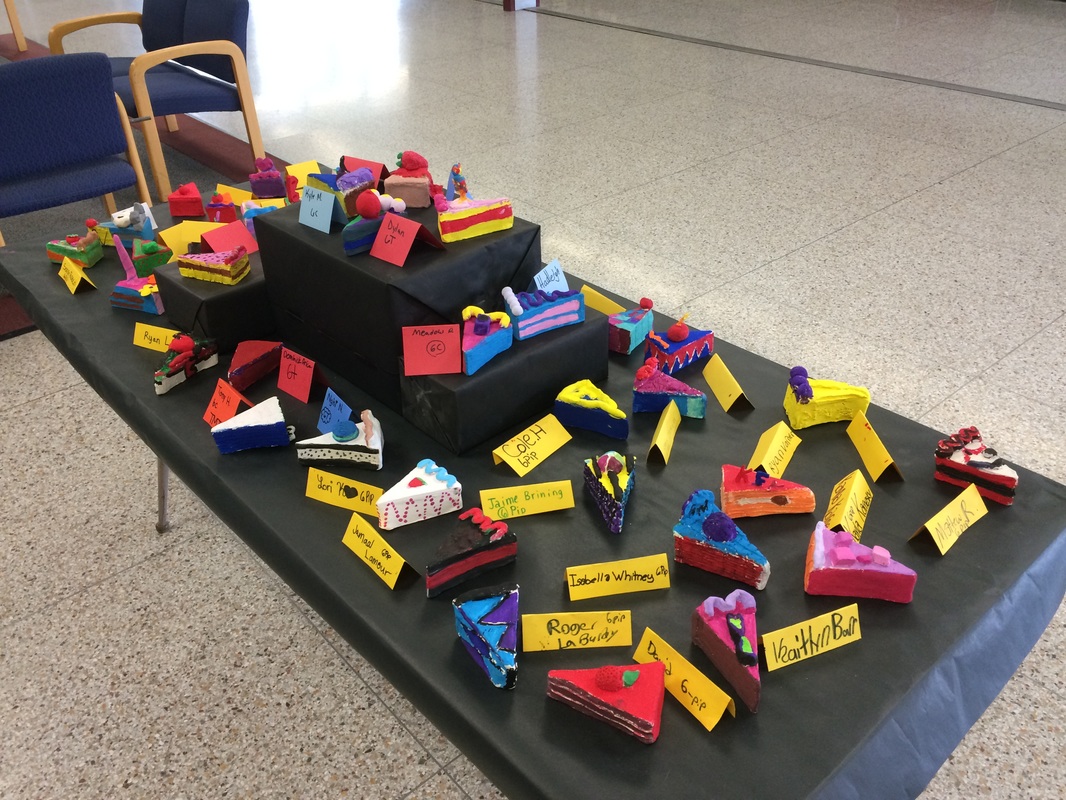
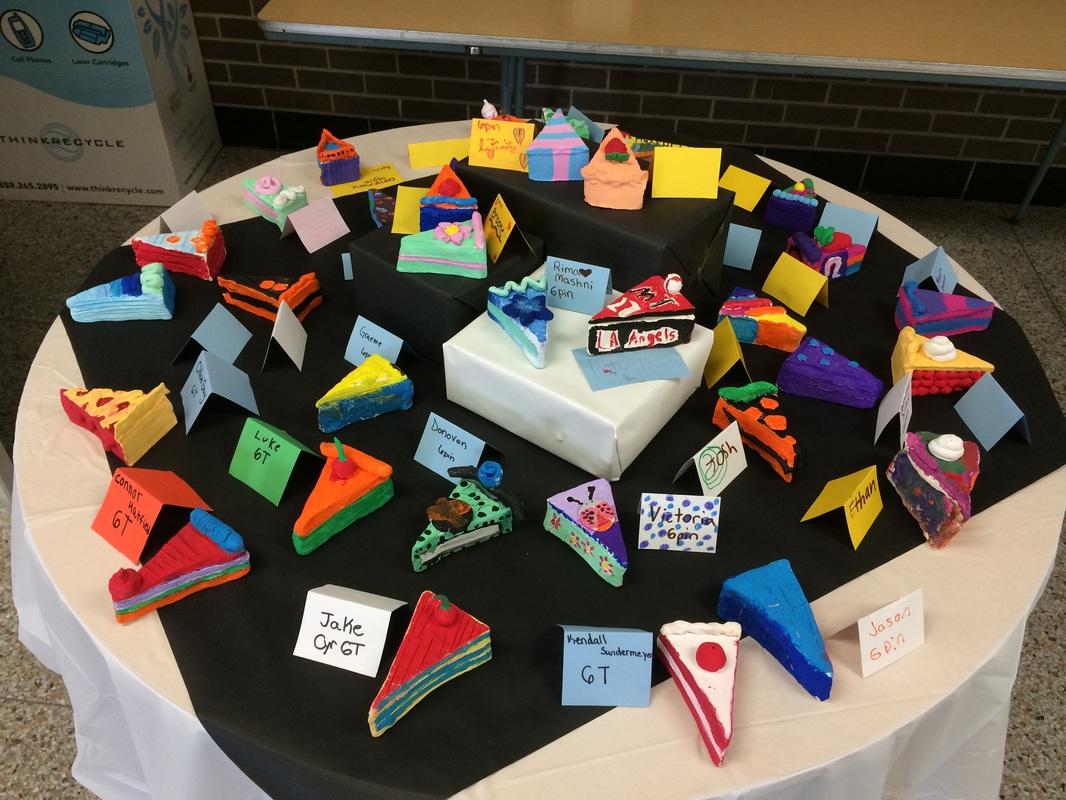
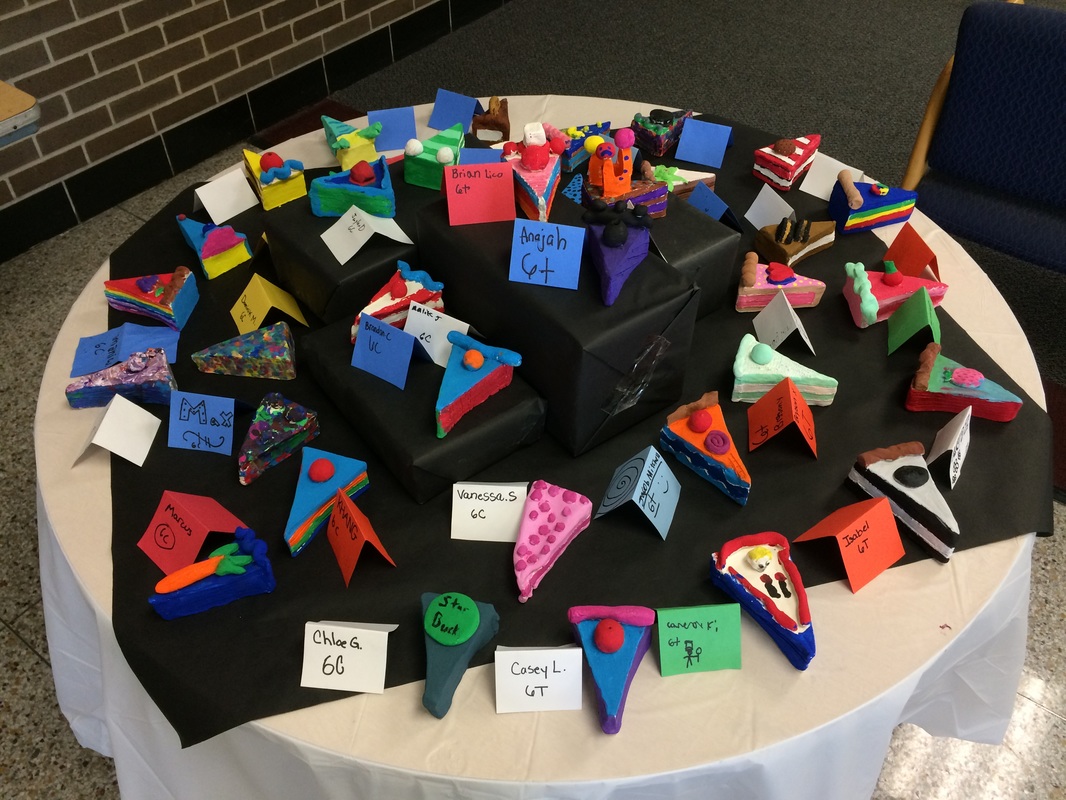
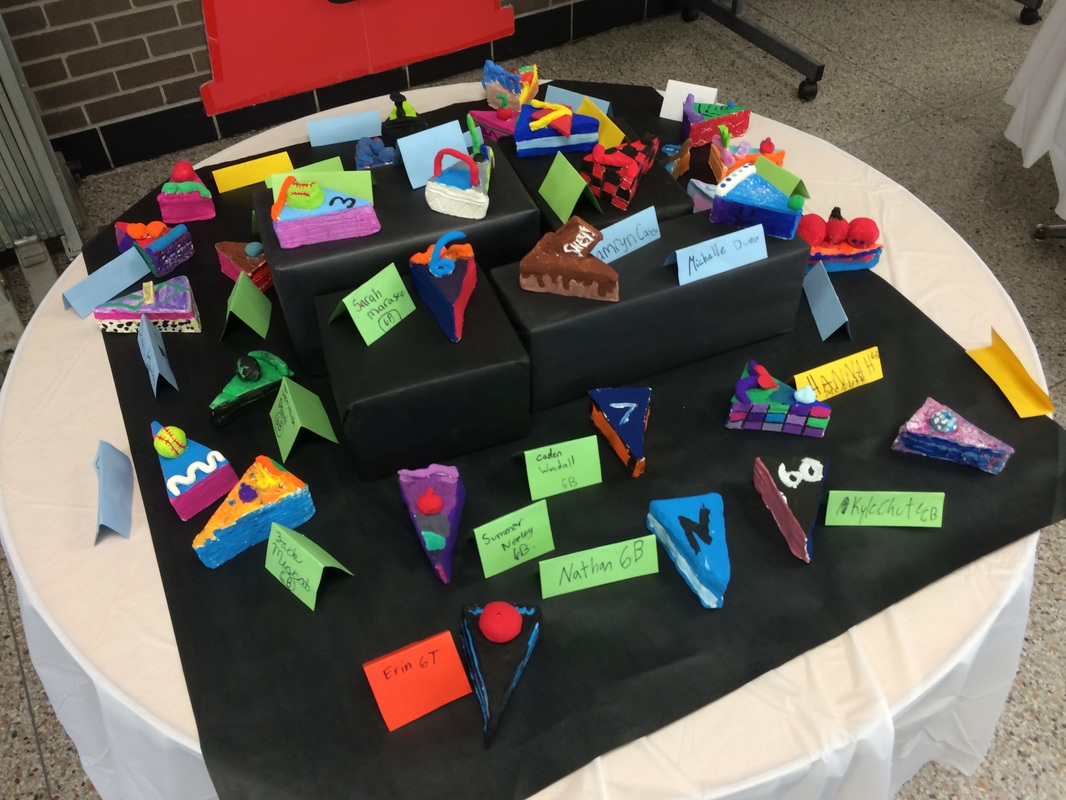
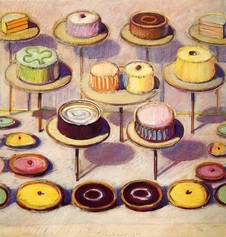
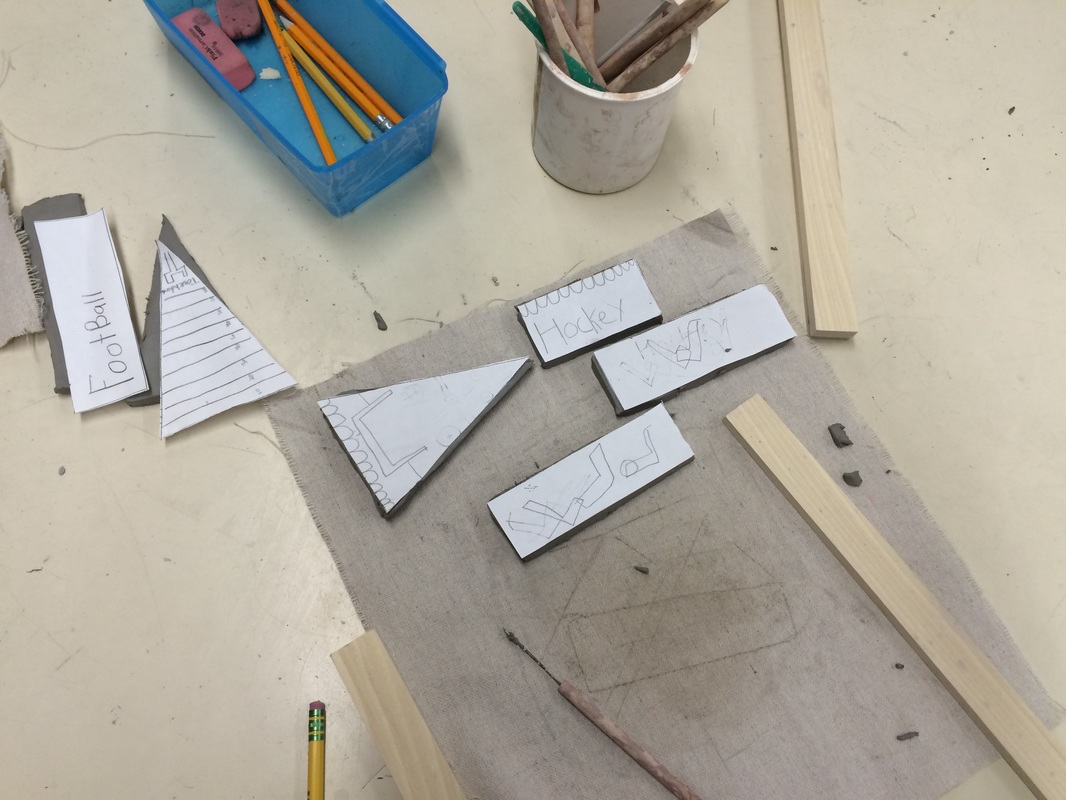
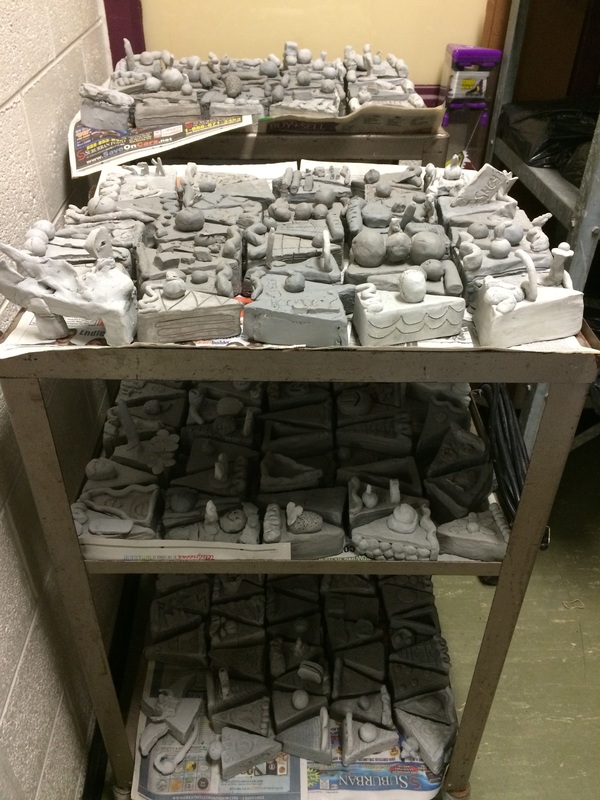
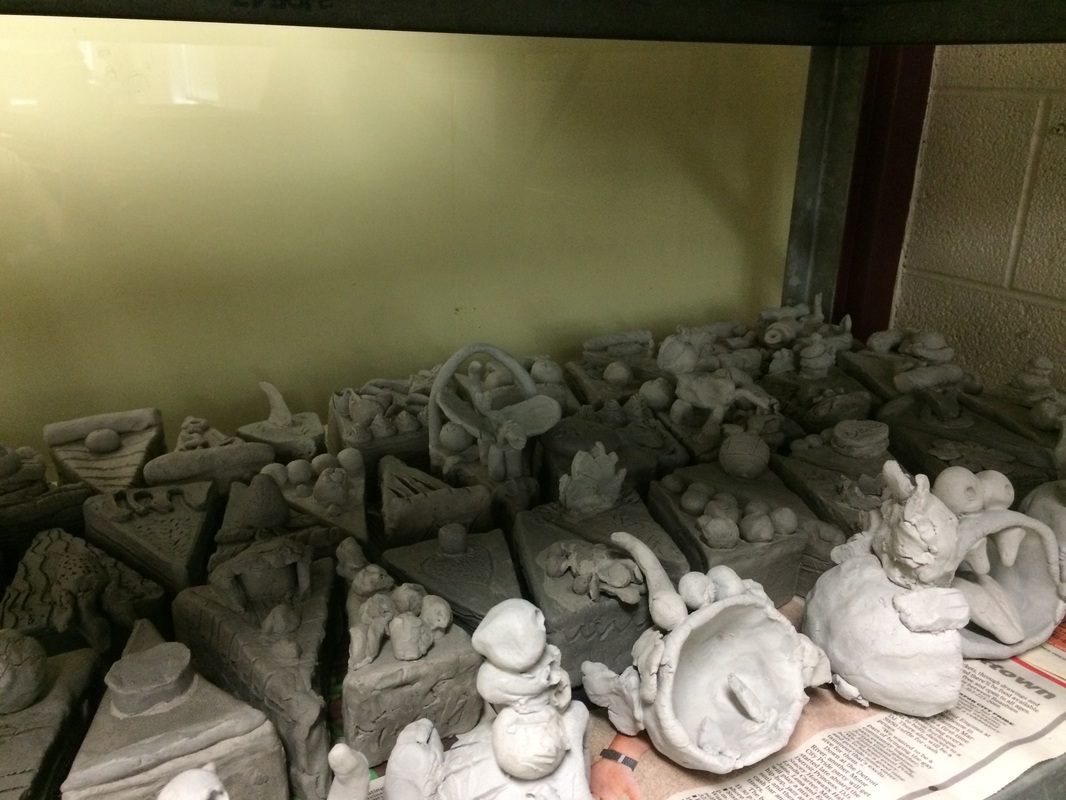
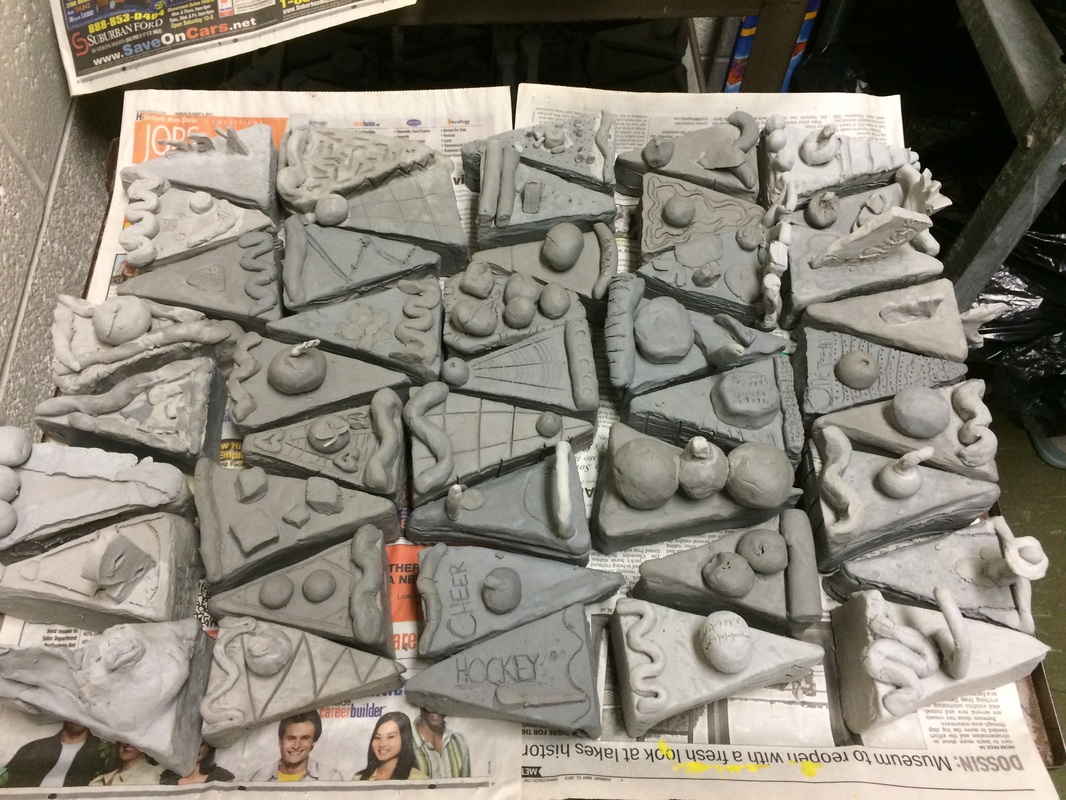
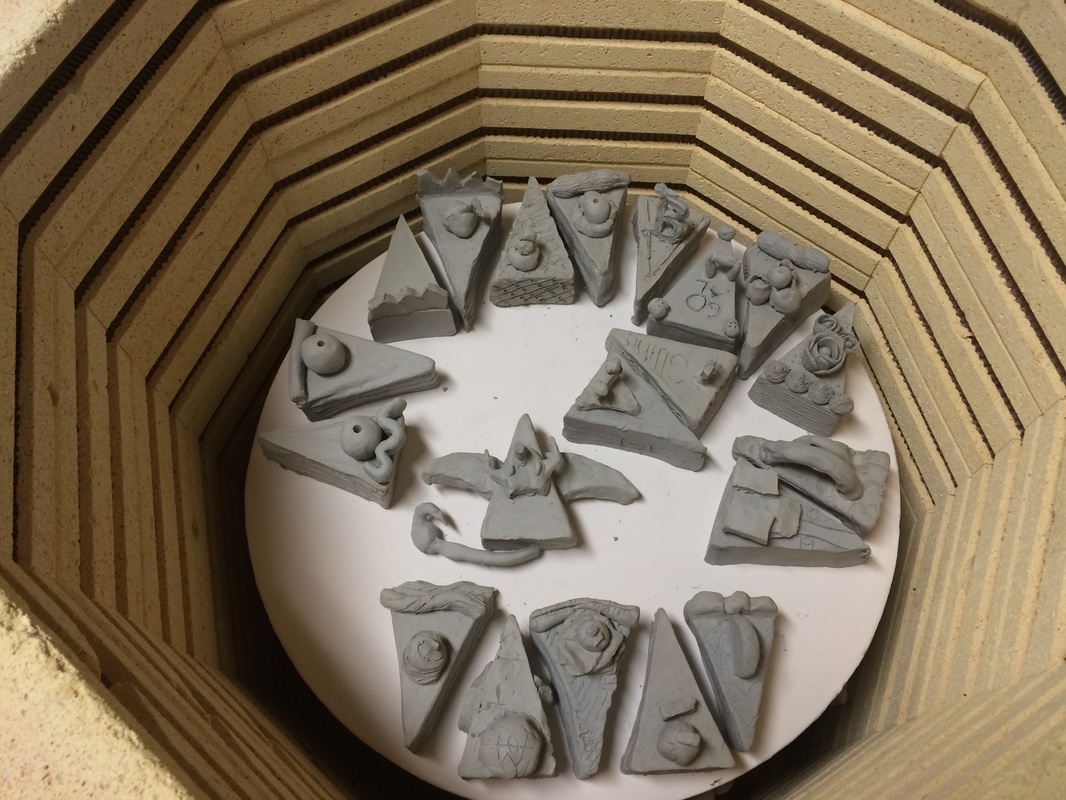
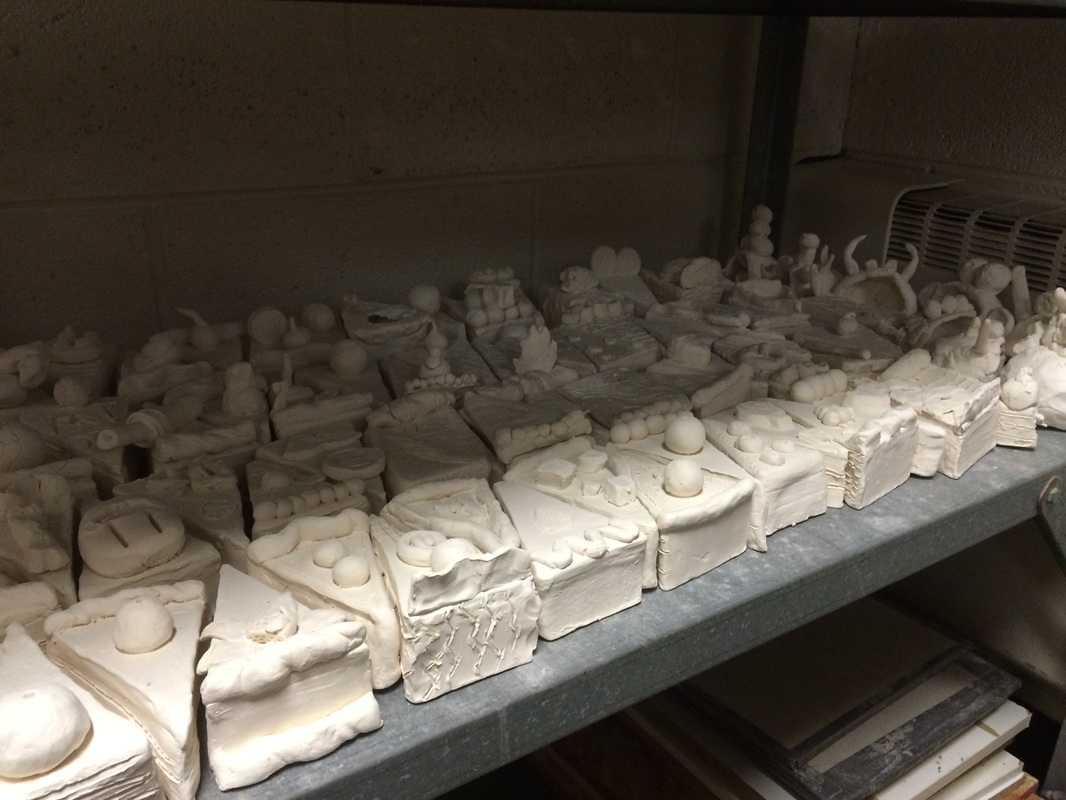
This project had mixed reviews from the students, some absolutely loved it, while others did not want to do it at all. I think because it was so close to the end of the year, some of them didn't even want to try. Once they got started though, everyone realized just how fast it could went! For this project we used recycled magazine pages to make "coils" that we glued together to make a vessel. They could control the color of the vessel by choosing what colors would show with the magazine pages. I think they turned out very cool and I felt it was a wonderful project to talk about recycling and why it is so important. Those students that took their time and focused were very happy with the outcome! Once the cake slices were dried and fired, students learned how to use tempera paint on clay. I showed them how to mix colors (tints, shades and new colors) on and off the clay. If they mixed the colors on the clay, they were able to create gradients. Students did an amazing job with this and some cake slices turned out very realistic and others looked like they stepped out of Willy Wonka's candy land! Everyone was very happy with their work by the end! Congratulations to all the students who had work up at the Fine Arts Festival this year at the Livonia Civic Library! Here are all the student work from Roosevelt and Johnson. Way to go everyone! Students looked at artwork by Wayne Thiebaud and we talked about the colors, textures and designs we saw in the work. Two sketches were needed before we started clay, so I did a quick demonstration on how to draw the cake slice in 2-D and 3-D.
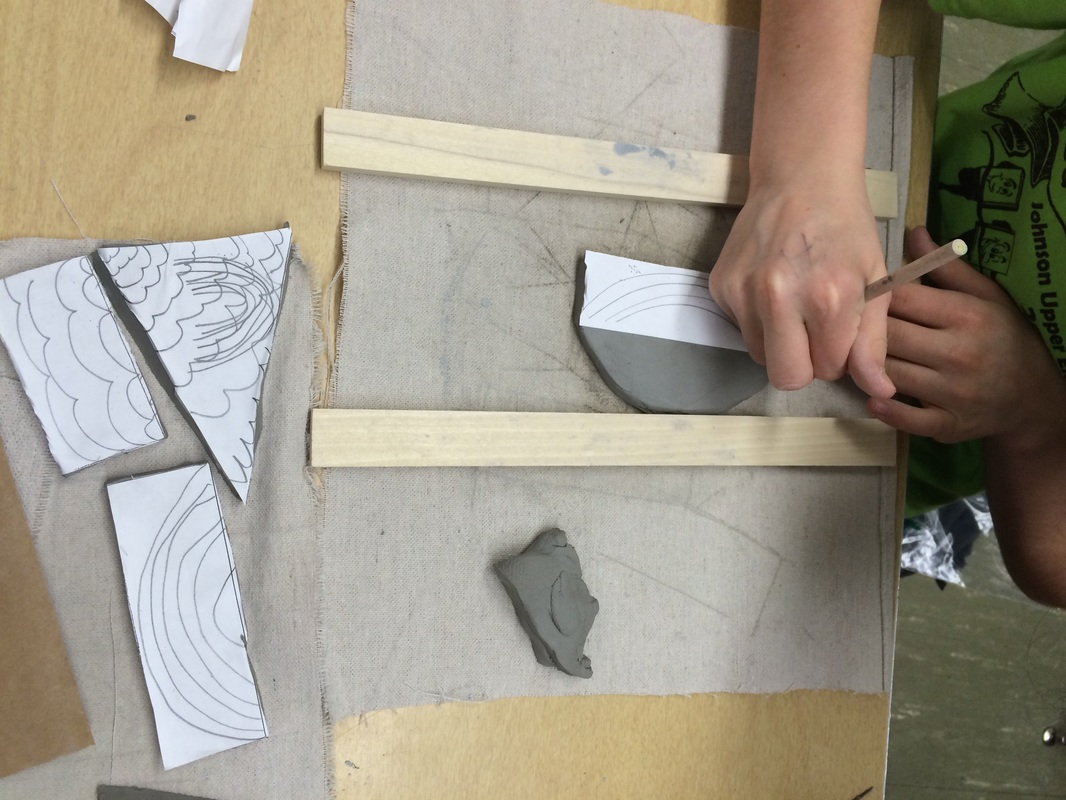
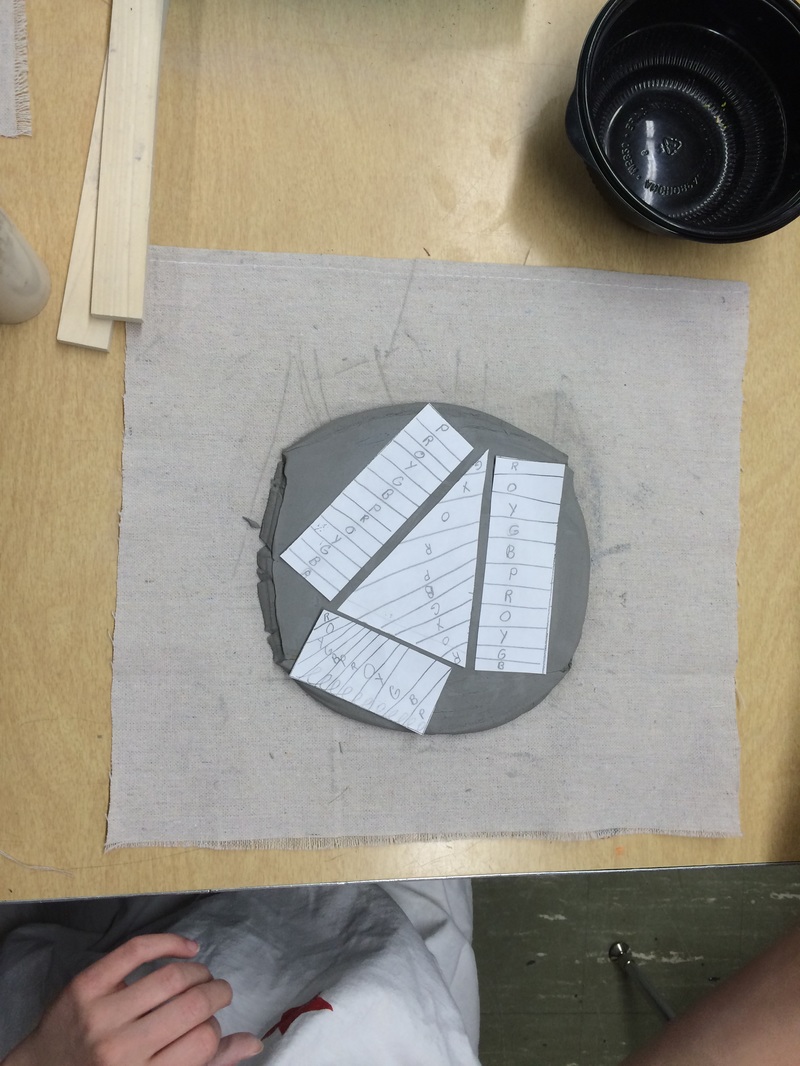
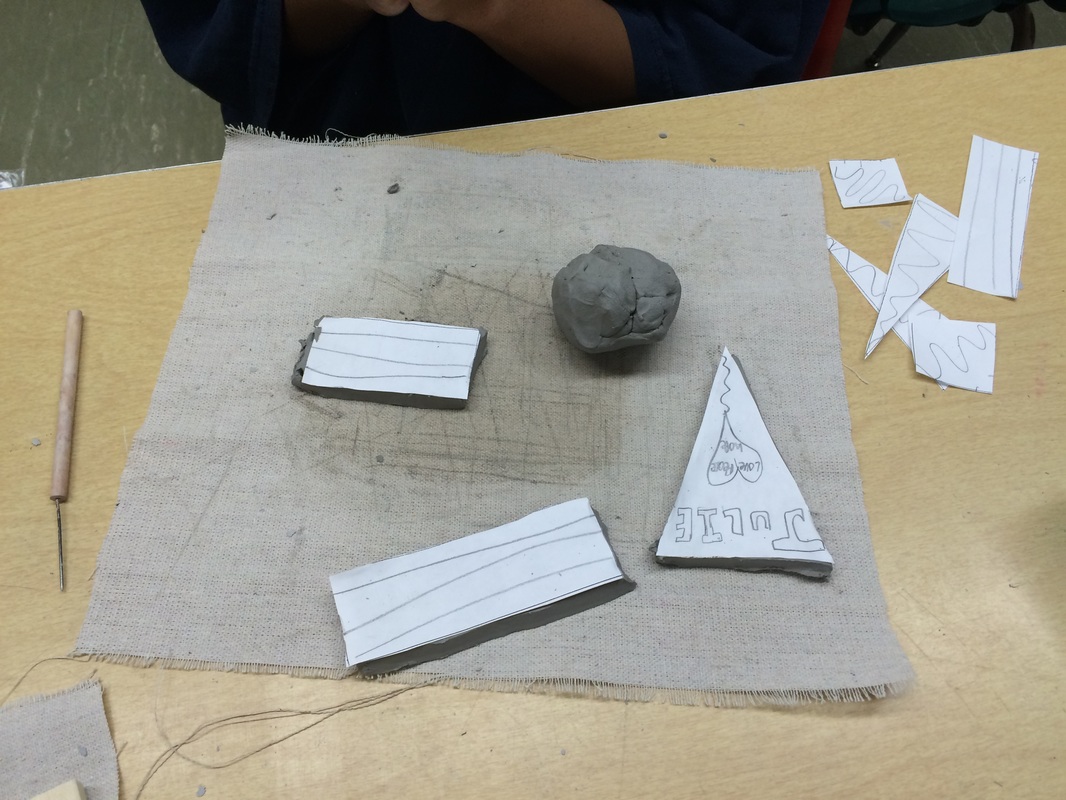
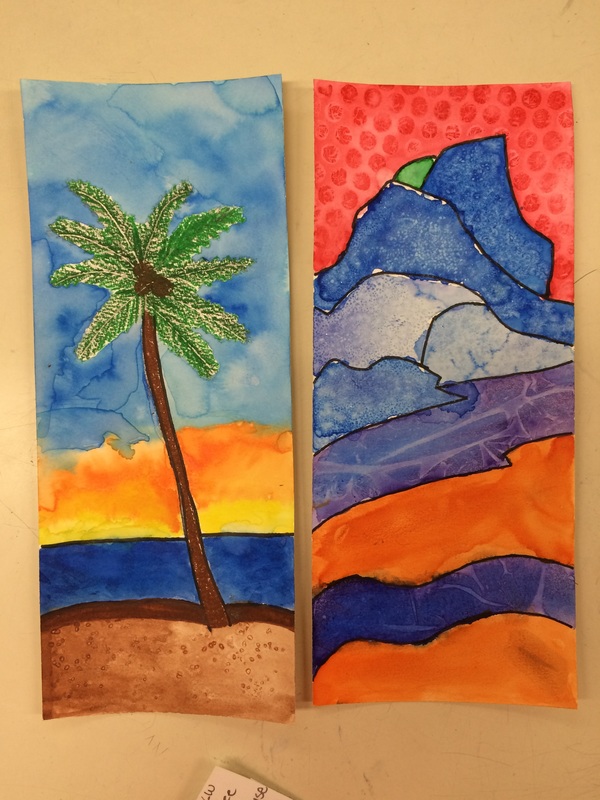
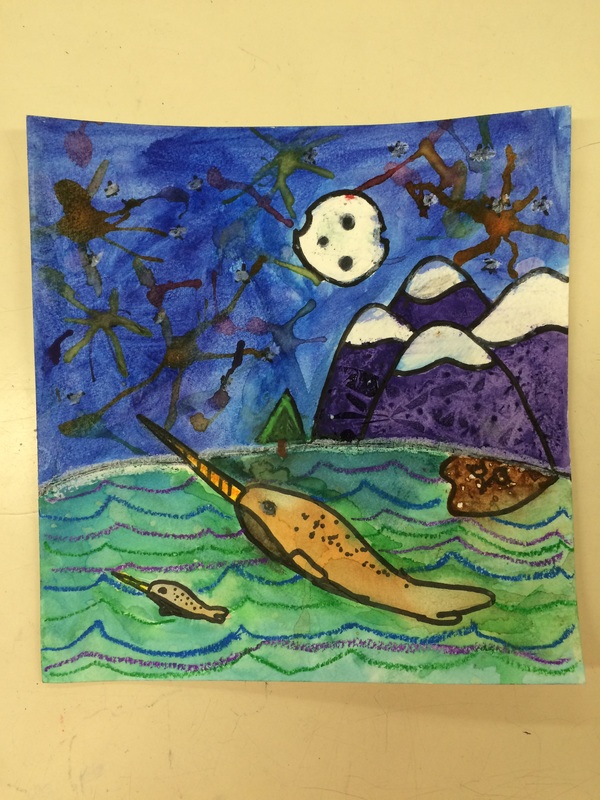
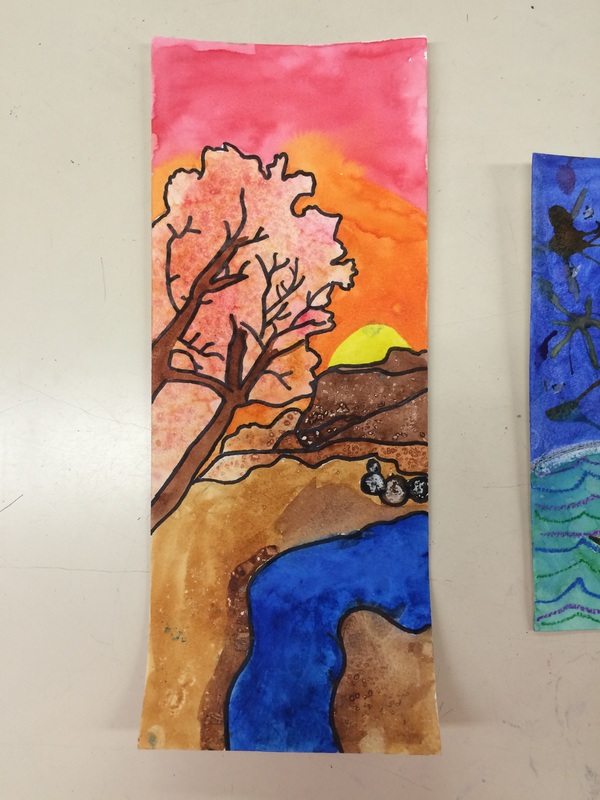
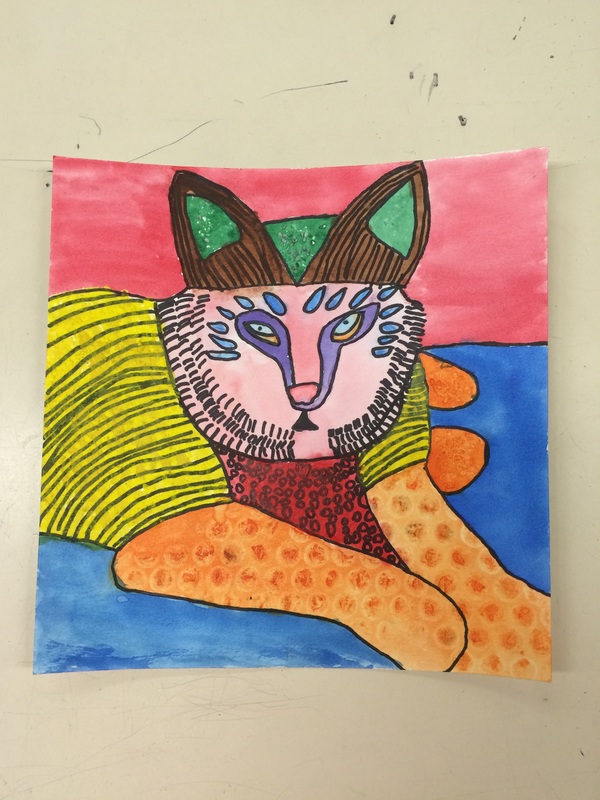
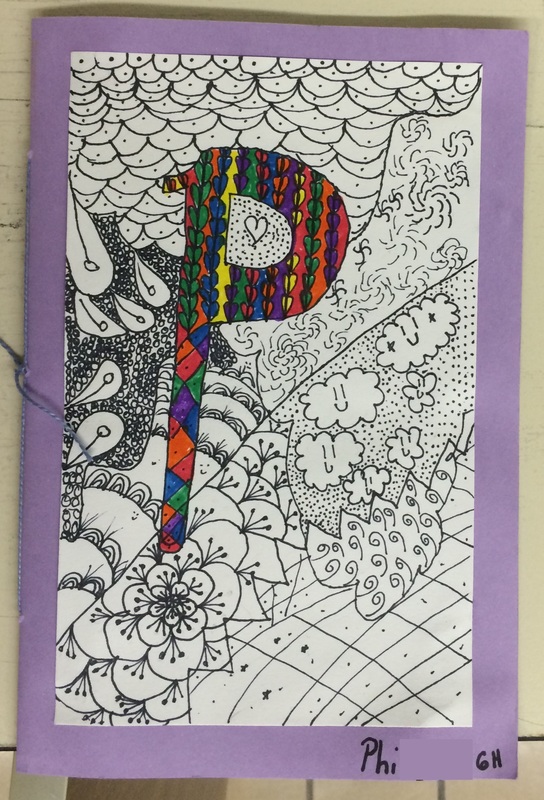
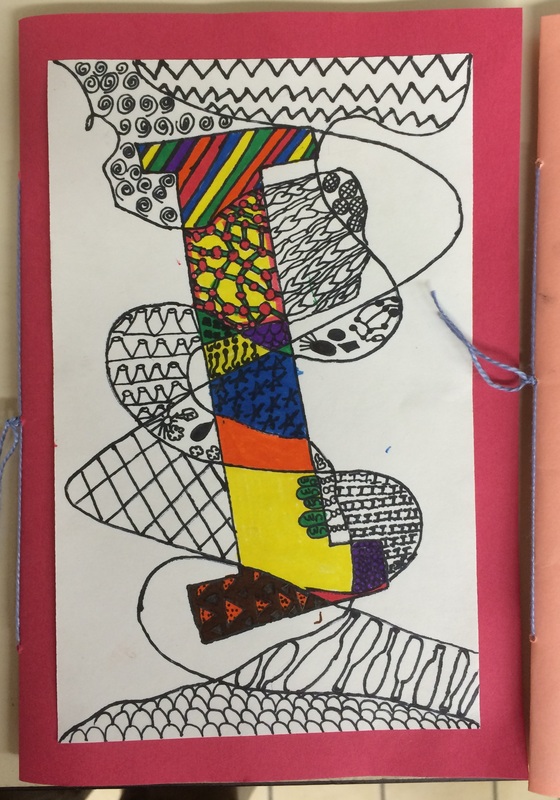
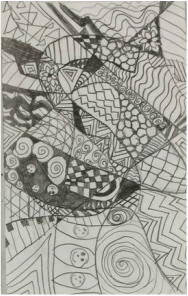
Once the sketches were done, we started the clay! Students rolled out a slab of clay and using a template, started cutting their pieces out. The second day, we put the pieces together to make the 3-D cake slice. The last days were all about using scratch and attach method to add their details onto their cake slice. Students used different tools to make different types of markings and made sure their design was clean and attached well before putting them out to dry. For our watercolor project, students were able to choose from two options: doing a landscape or doing an animal. Once they decided on their subject, they found a reference picture. Using the reference picture, the drew out their picture and broke it into closed shapes. Once the picture was transferred to the watercolor paper, students went over their lines with sharpie and began using different colors and watercolor techniques in each closed shape of their painting. This took quite a few weeks, but I think the students did a great job focusing and the results show that effort! Sixth Graders have been working on a technique sheet for our next project. The technique sheet is a sampler that will help the students create texture and brainstorm composition options during their watercolor projects. Students did the following techniques: Using needle and thread, sixth graders bound pages with a piece of construction paper to create a one of a kind sketchbook. Students attached their zentangle to the front of the sketchbook. These books will be used these to create "rough drafts" or sketches of future projects. Students were introduced to Zentangles (some had previous knowledge) through examples I had from a previous class as well as some images from the actual website. I described them as glorified doodles that are relaxing and almost meditative. Zentangles can be done on anything, but are usually executed with a black pen or marker. The space that is to be "tangled" needs to be split into sections and then filled using a wide variety of designs. 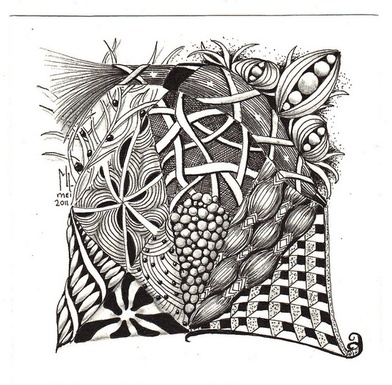
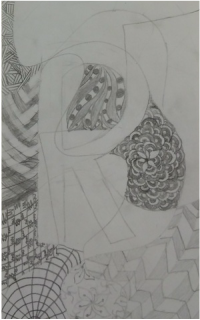
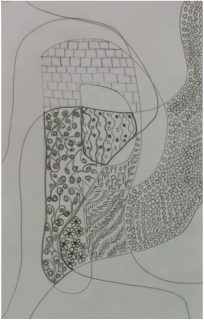
Our Zentangles are going to be a plaque on the cover of our homemade sketchbooks. Since these are personal pieces, I had the student pick a letter from his/her first or last name to be the first break in the white expanse of page. After the letter was in the center of the page, the students had to draw three different lines going from one edge of the page to another edge. This broke up the space more and create very interesting areas for us to fill in.
Students were given a red folder that contained design contact sheets and example Zentangles to help with their design work. Using a pencil, they began filling their now sectioned paper with lots of different designs.
Once the page was full, the student was given a black sharpie pen to go over the pencil. This is the step we are on still. I believe we will need one more day of in class work time for this step to be complete. Once this step is done, students will erase the pencil and add a color to the letter in their Zentangle to help it stand out from the background designs.I will post more pictures when students begin finishing!
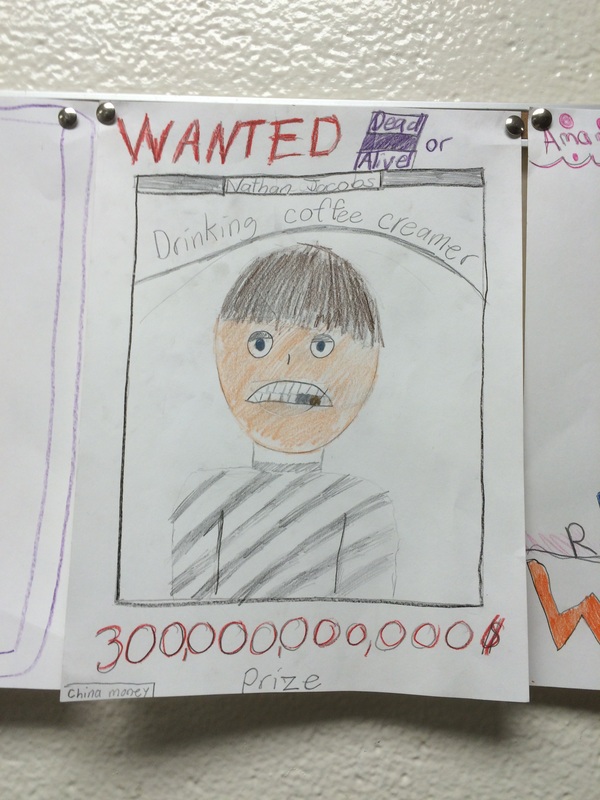
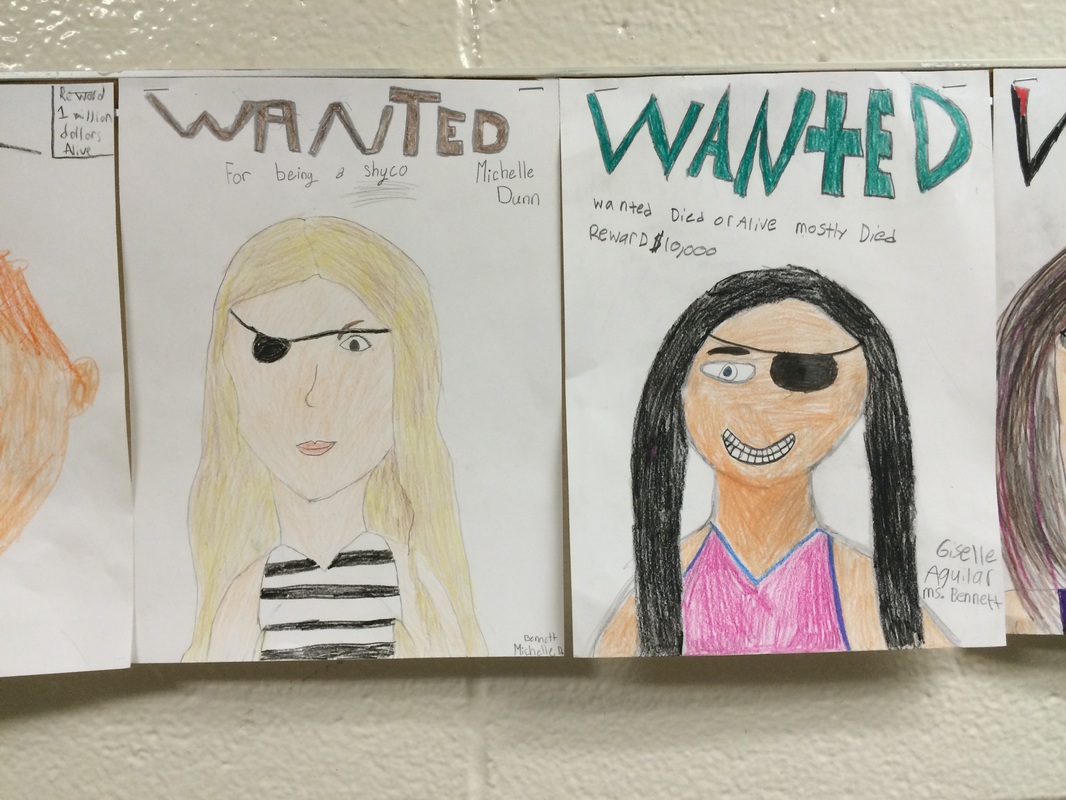
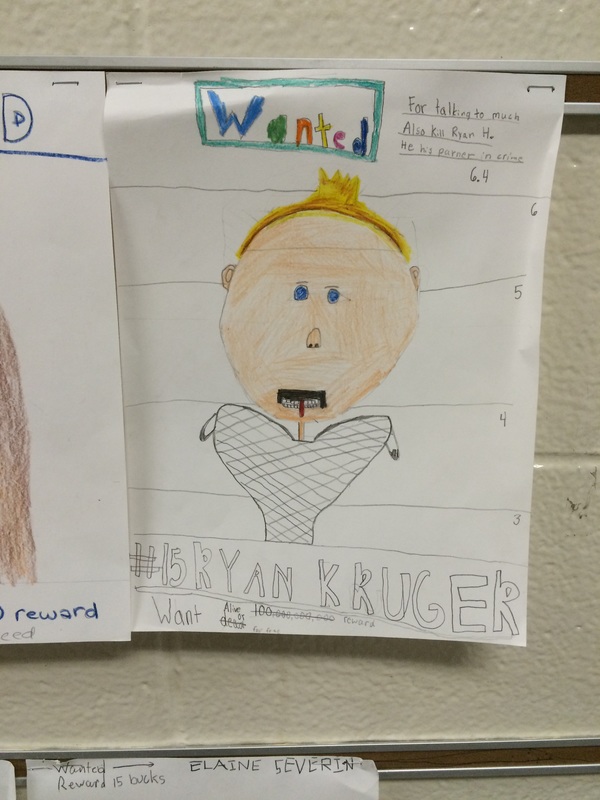
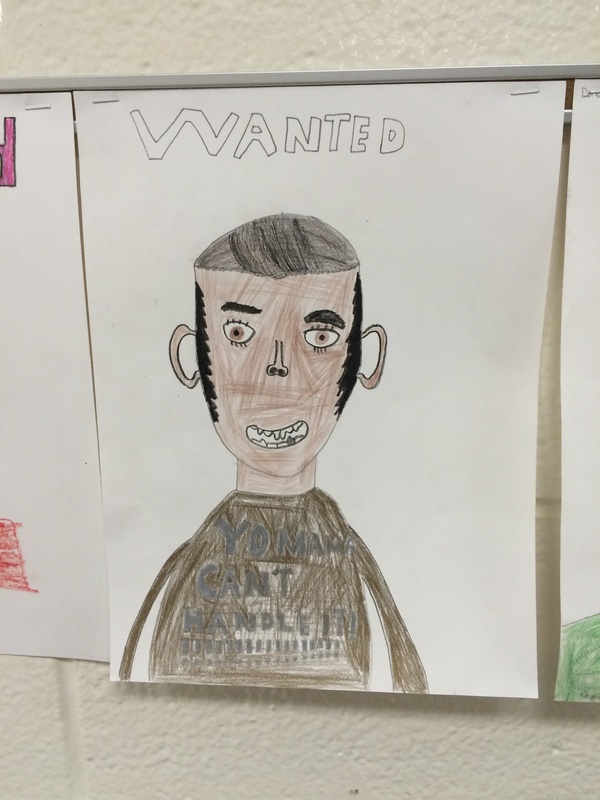
To start off the year, all of my 5th and 6th grade students created a wanted poster for me. Along with the poster was a questionnaire about why they were wanted and things that may help the bounty hunters find them. The posters needed to have a self portrait and anything they thought would be important for the reader to know. Students had a wonderful time with these and they were all very creative! I allowed students to add one thing to themselves to help disguise them if they wanted. |
AuthorMy name is Rachel Licavoli and I am an Art teacher at Johnson Upper Elementary and Roosevelt Elementary. Archives
June 2015
Categories |


 RSS Feed
